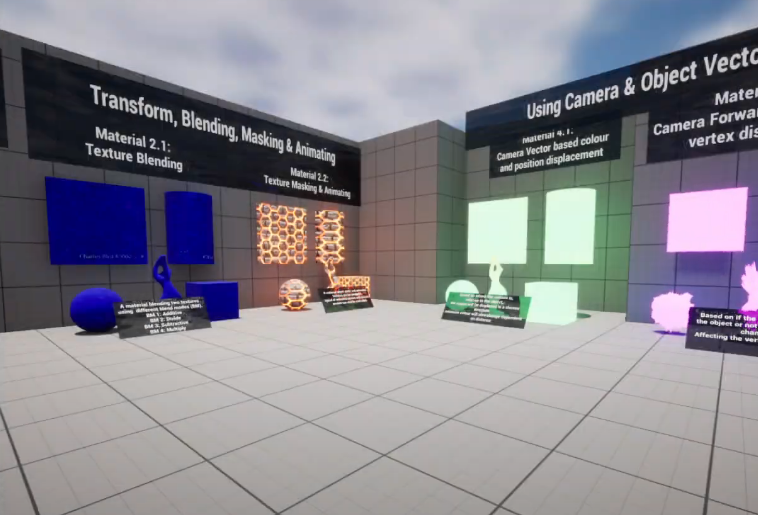
This is a exploration of materials in Unreal Engine and building my grasp on constructing them using my knowledge of vector operations to manipulate the look and behaviour of materials for different uses.
I made these for a university project and am very keen to continue my research into materials!
————– Basic Material ————–
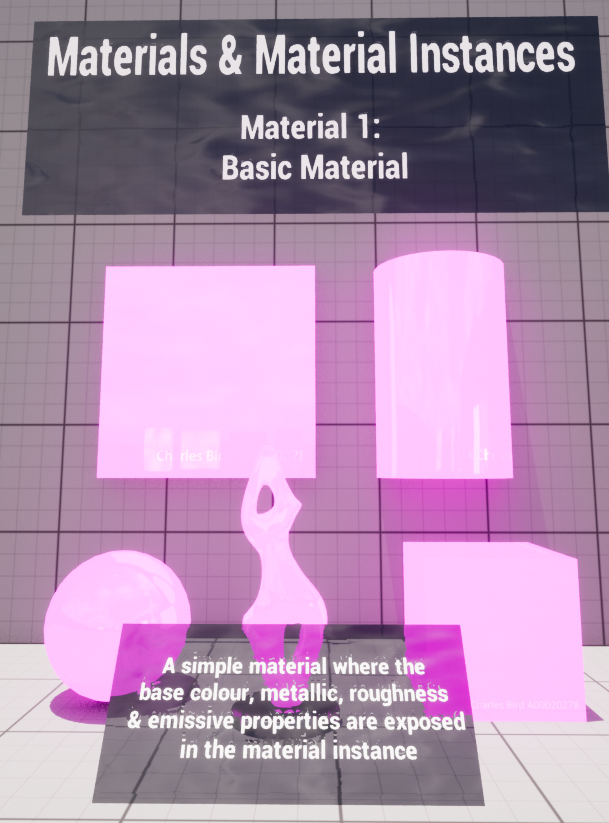
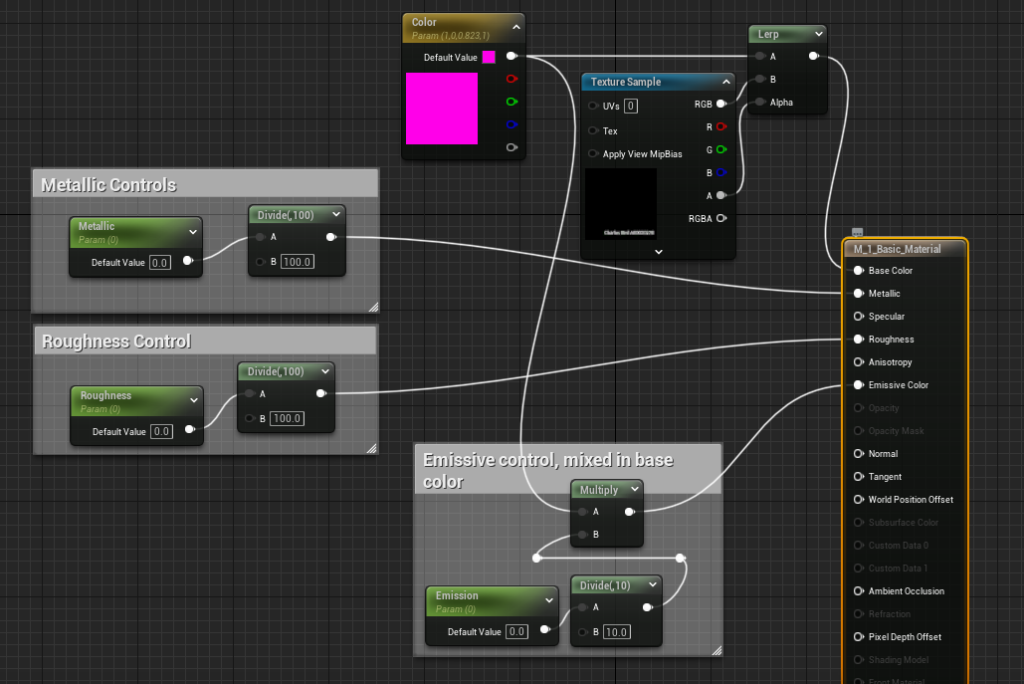
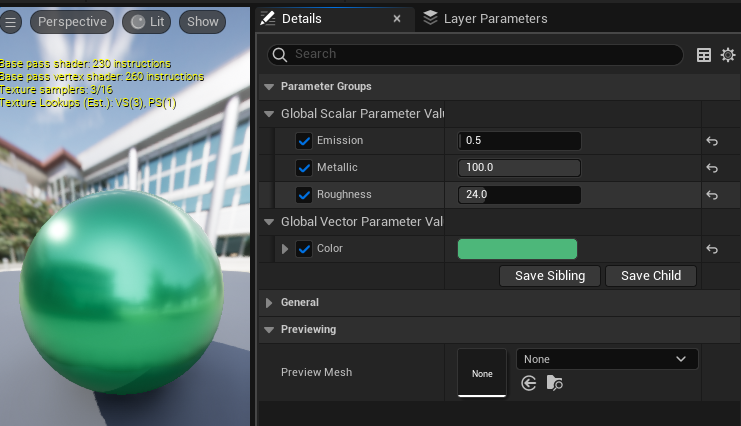
The following material is a simple, but useful material in which Base Colour, Roughness, Metallic and Emissive properties are controlled. I found this to be a great building block of construing materials
When instanced, the variables I mentioned above are exposed:

————– Texture Blending ————–
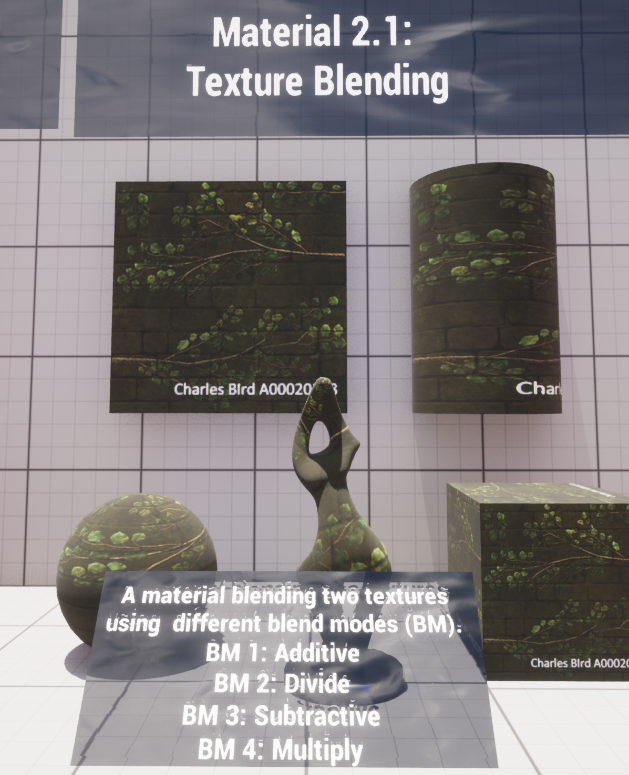
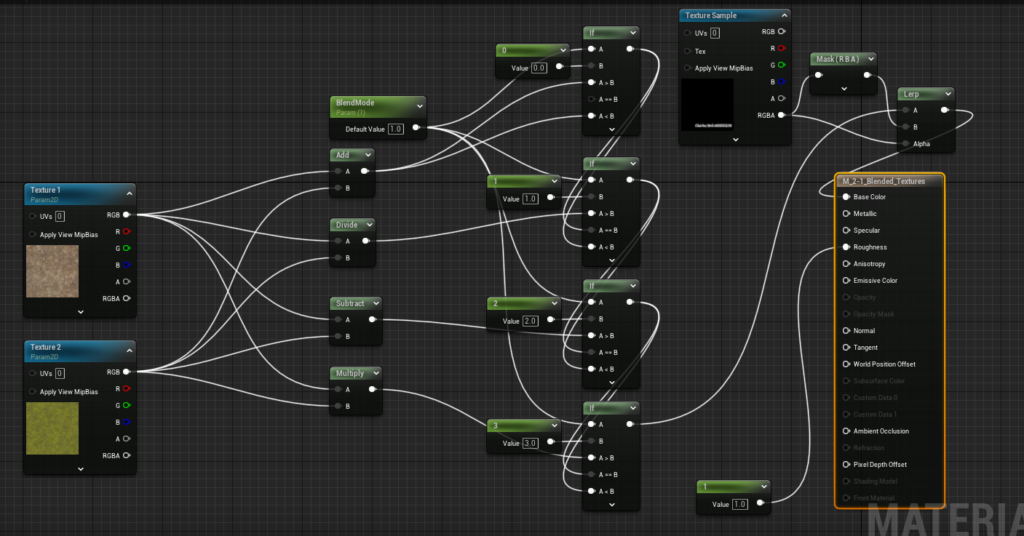
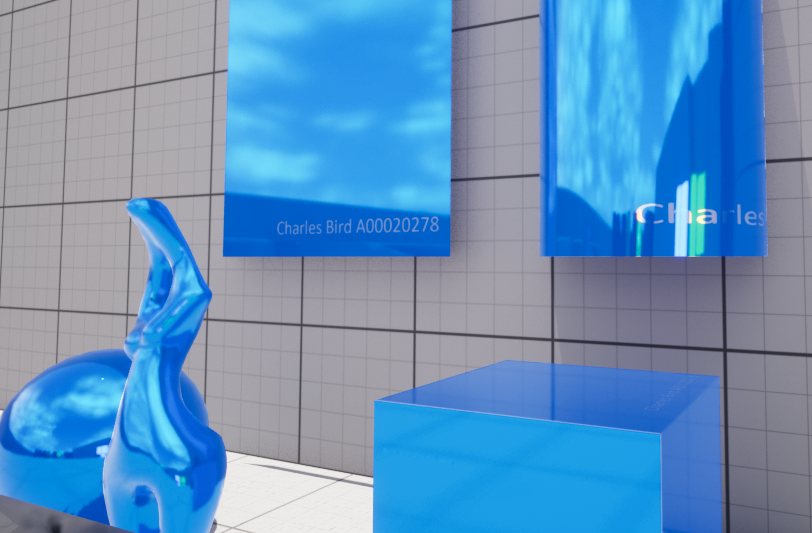
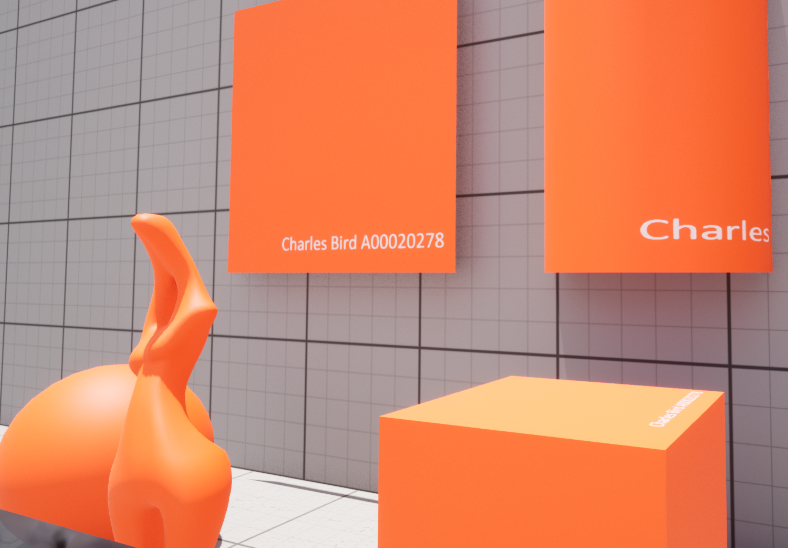
This material was created to explore the different blend methods for combining two textures. The material can blend any selected texture in one of four methods; Additive, Divide, Subtractive & Multiply.
The following images demonstrate the blend methods:
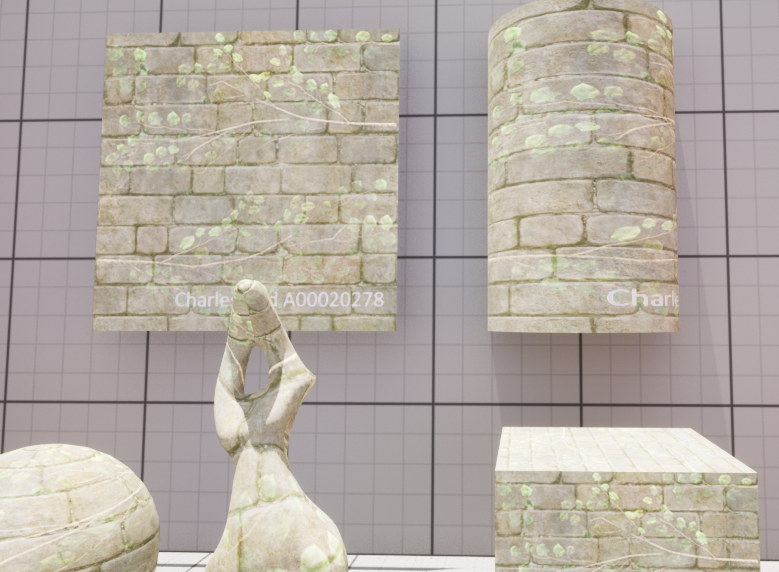
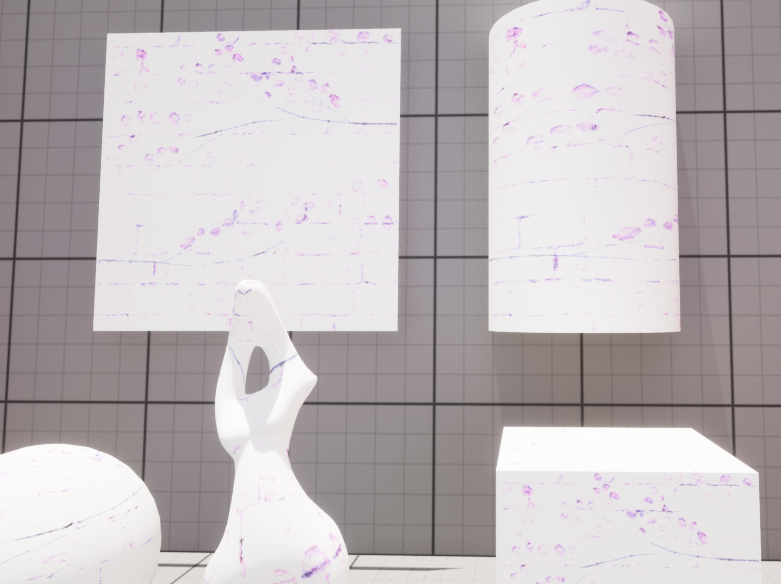

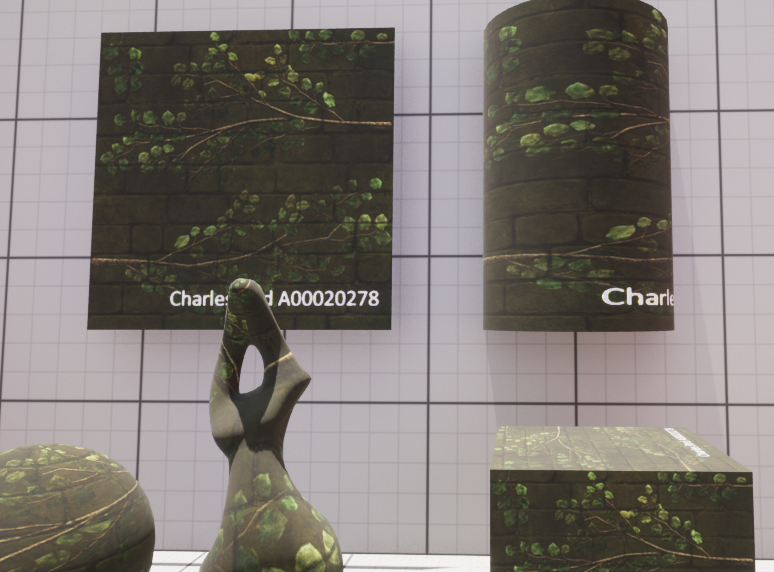
Textures are selected in the material instance and the blend mode set.

It was interesting learning how texture colour RGBA values were combined and seeing their results, it helped me better see colours as their RGB values and understand the operands which could be performed.
————– Texture Masking & Animating ————–
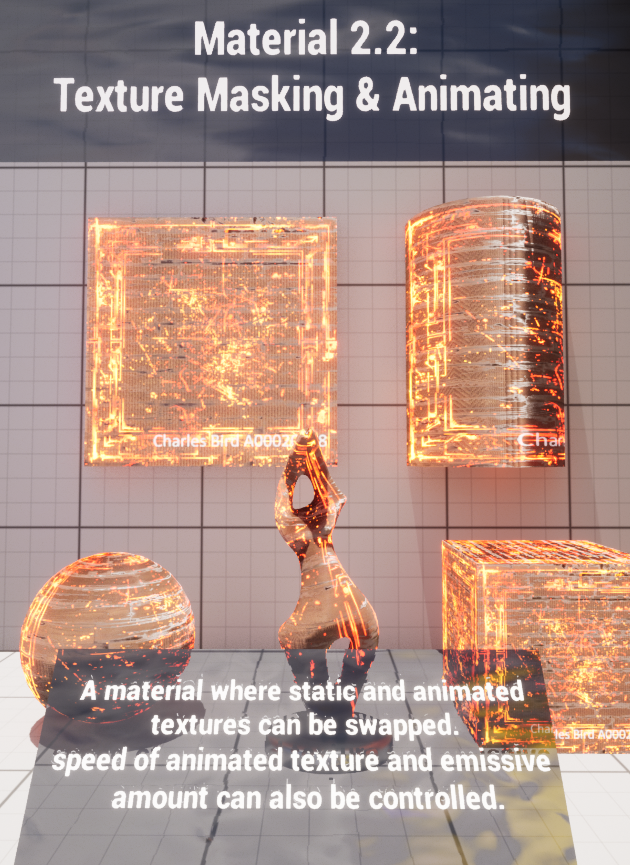
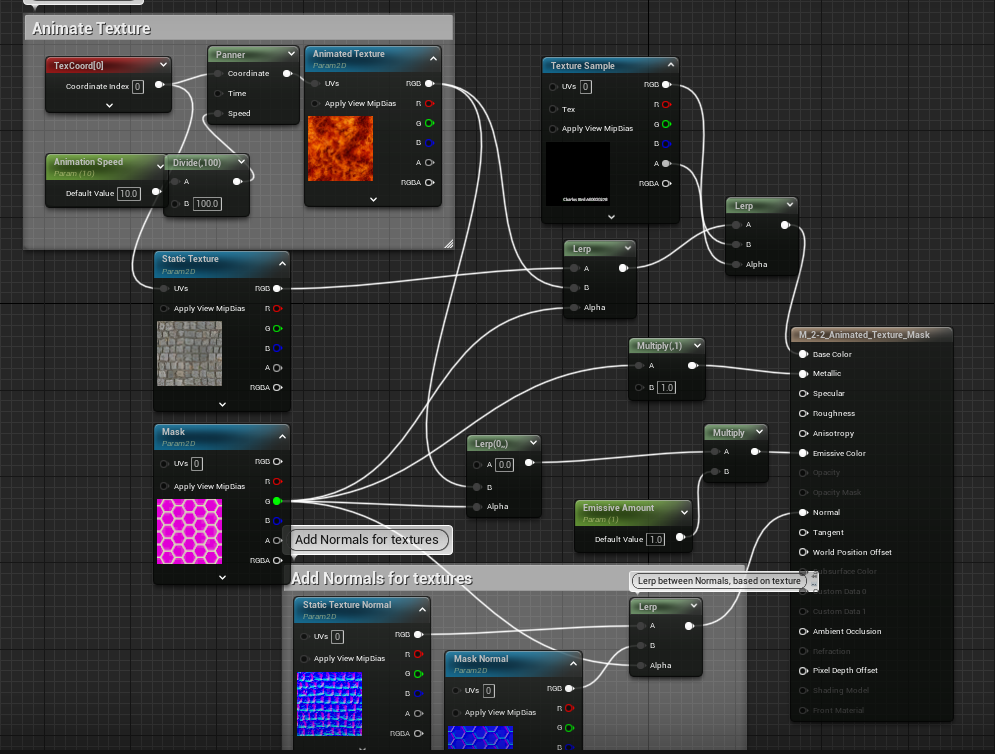
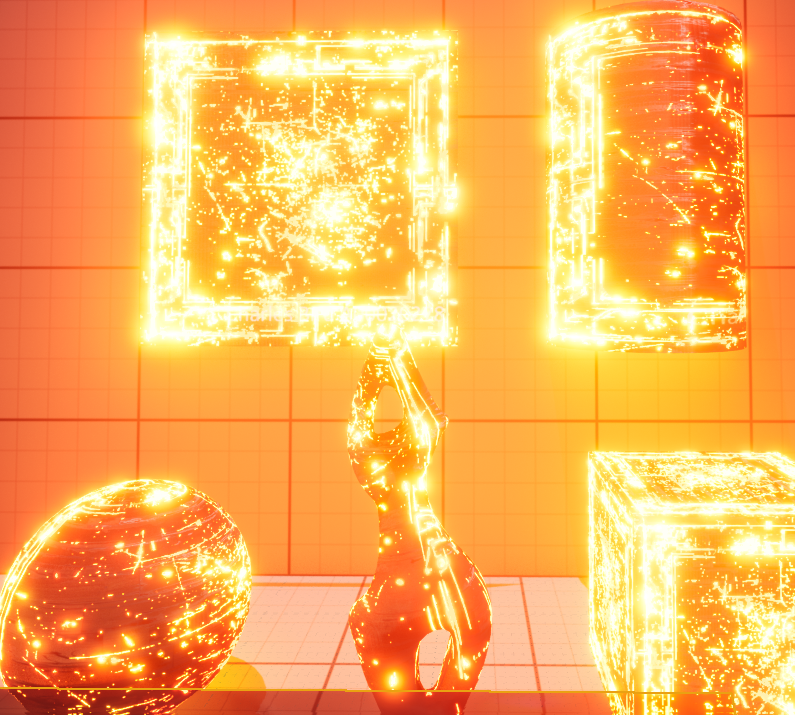
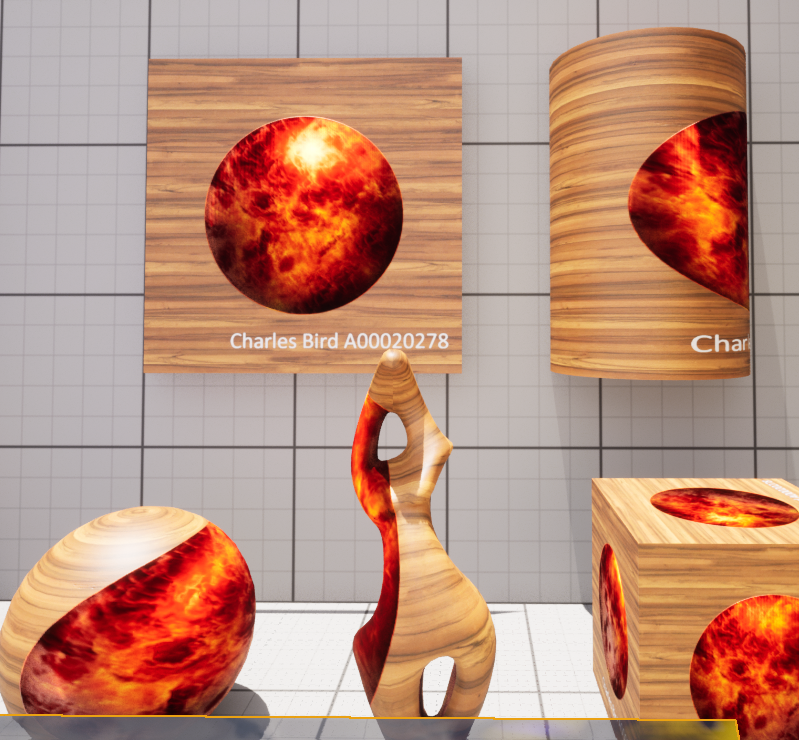
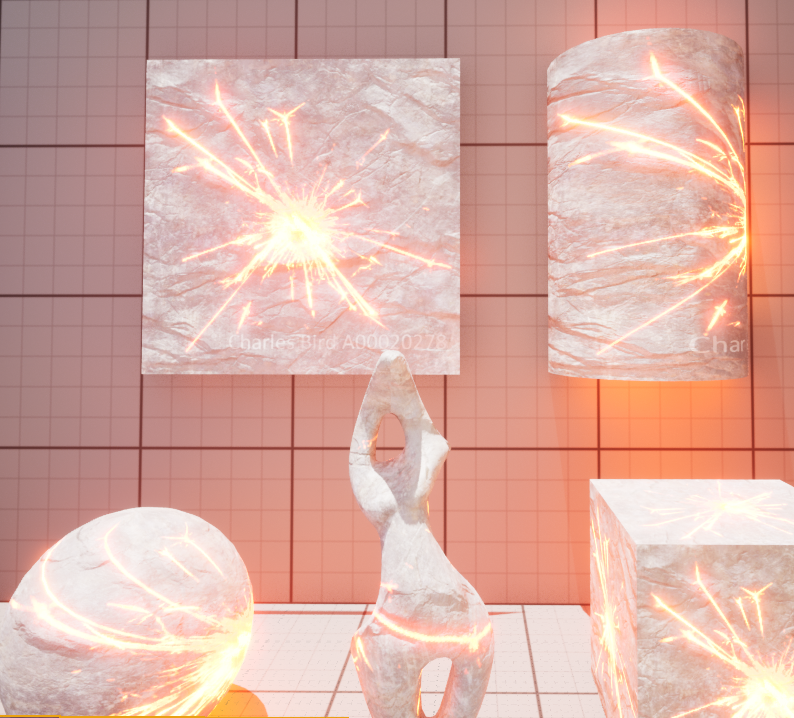
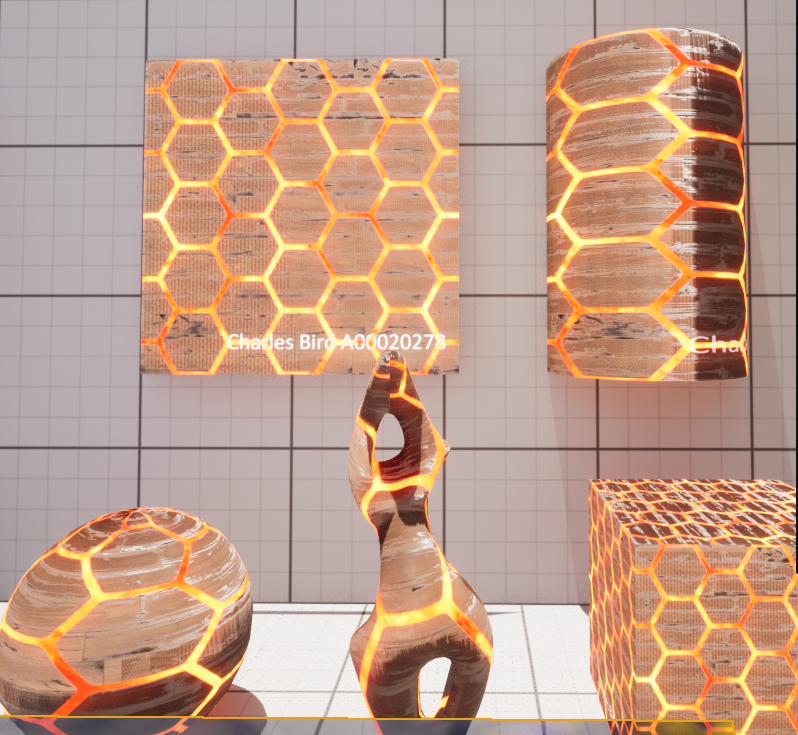
With this material I aimed to have one static texture with another used as an alpha mask to animate a final texture within the mask.
Within the material instance textures are exposed, as well as an emissive amount and animation speed (this is a panner attached to the texture to be animated and controls the speed in which it pans)
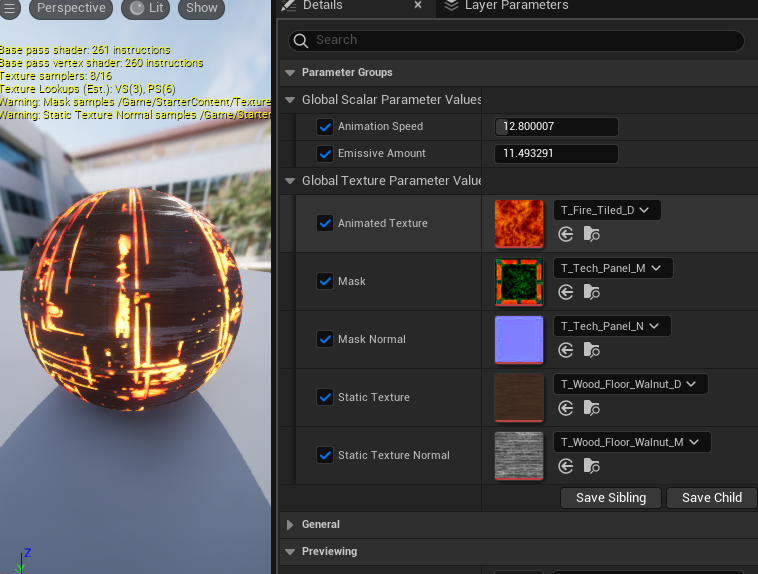
Below are some examples of different masks and animated textures:

————– Camera Vector Based Displacement ————–
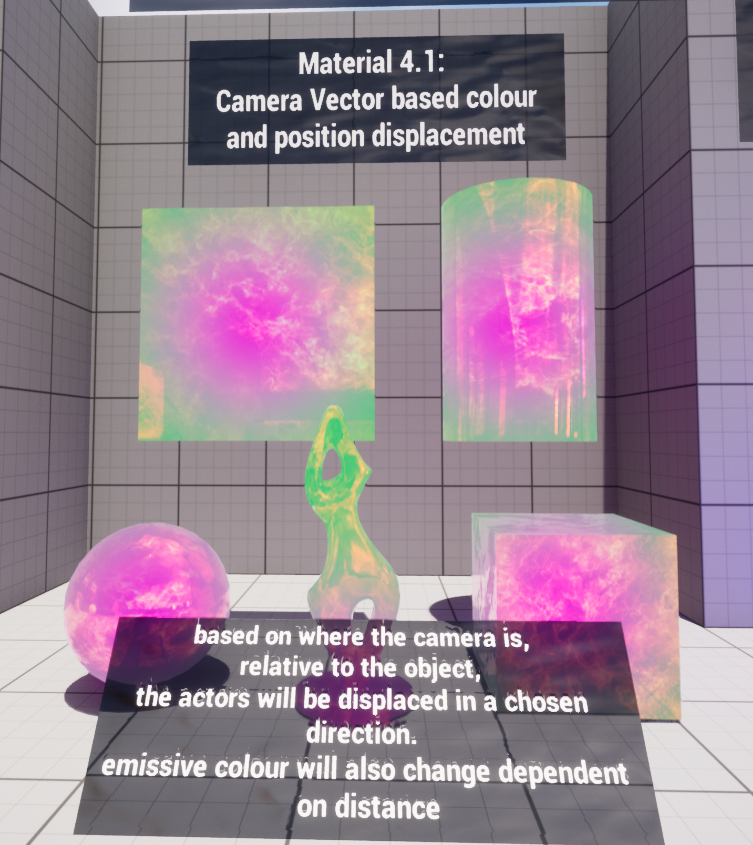
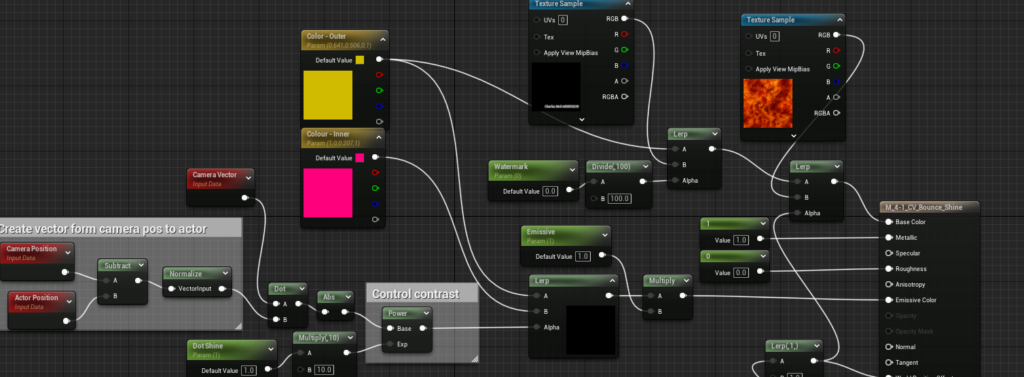
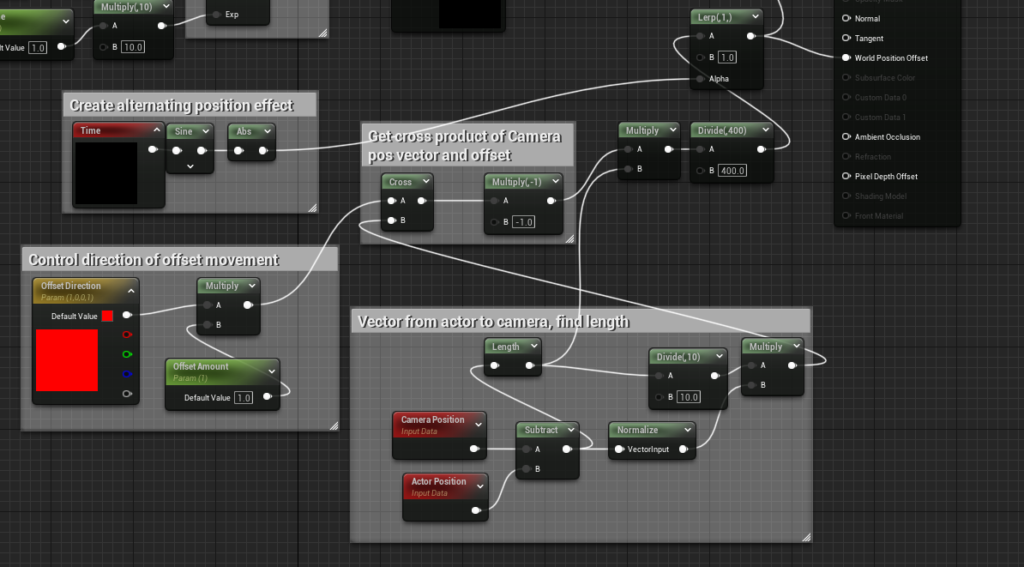
With this material I wanted to use the position of the camera and its facing direction to effect both position of the material and manipulate its colour. I used a sine function to exaggerate the effects. Uses of this material actually within a project are minimal to be sure, the purpose of the next 2 materials were to help me grasp camera vectors and materials relationship.
Below is a video showing the functionality of the material. In the video it shows the material displacing based on where the camera is to the object.
As the camera moves around the Z-axis (on the XY plane), the direction of the offset is changed.
Additionally, a the camera moves further from the object, the displacement becomes stronger.
This effect was made by finding the vector from the camera position to the object position, and using it’s length run through a sine wave to make the effect.
A cross-product was then found between this vector and an arbitrary vector to get a good visible offset, so the objects are not bouncing at the camera.
Again, not very useful, but definitely helped highlight the possibilities of being able to control these things!
————–Camera Forward Vector Based Displacement ————–
This was an interesting variable to play with. I found I could think of a few uses for this particular and tried to demonstrate one idea with the material I created.
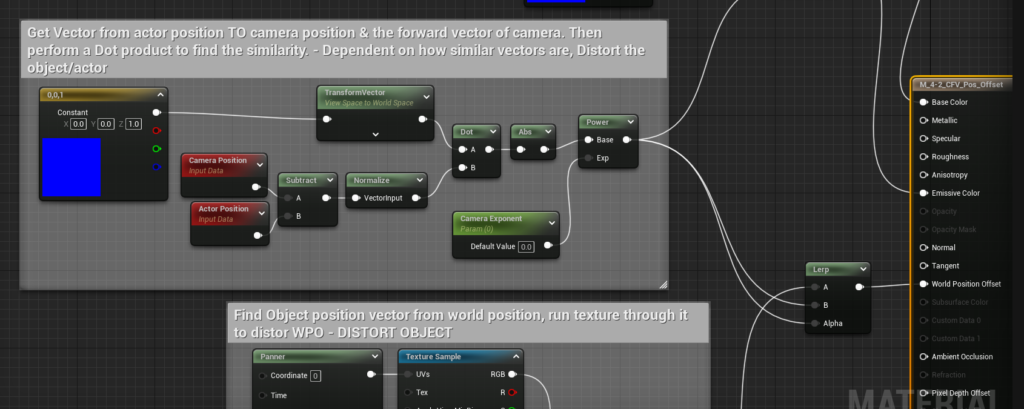
That idea being the material would distort when the camera was looking away from it. So the viewer would never be able to quite catch it misbehaving.
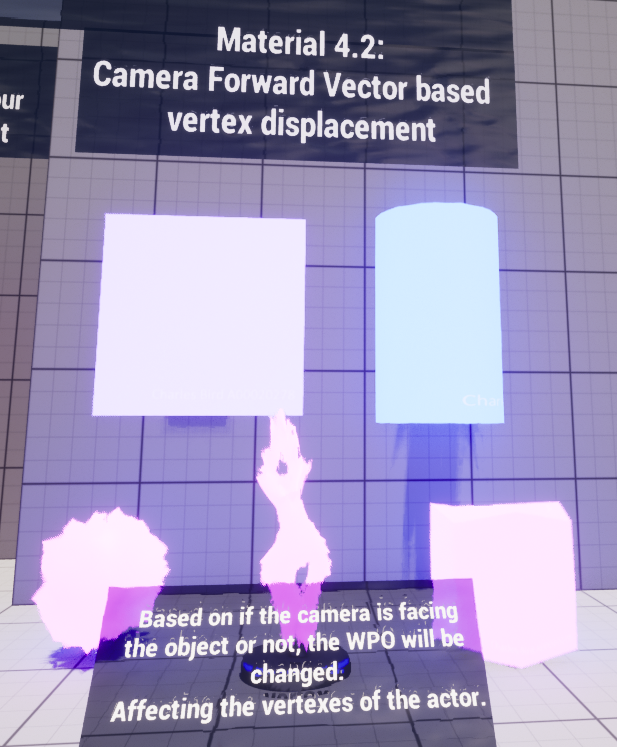
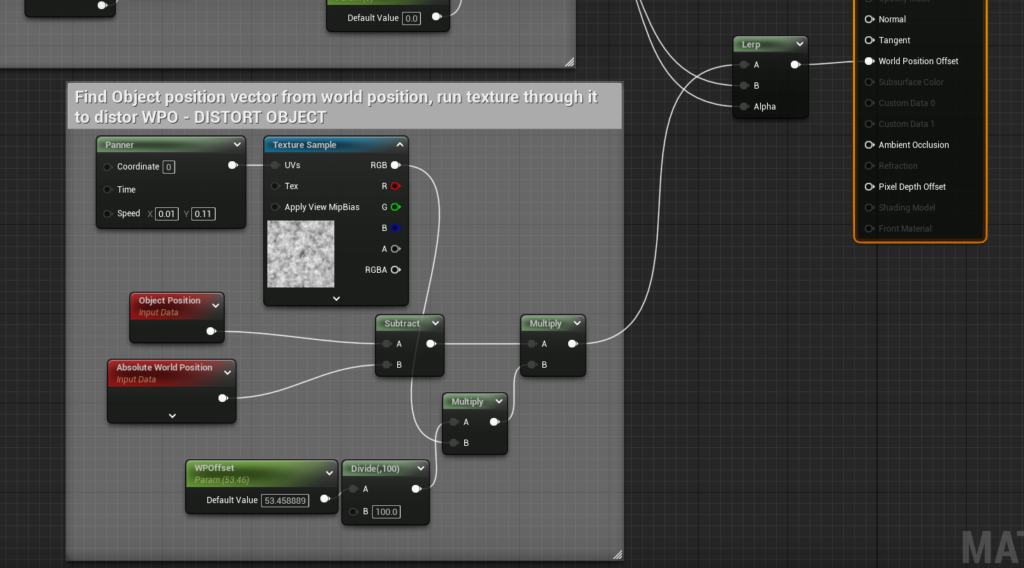
The set up of this material required to large steps. The first being; Distorting the object. This was done by finding the object position vector from its world position and multiplying that by a noise texture to displace the vertices.
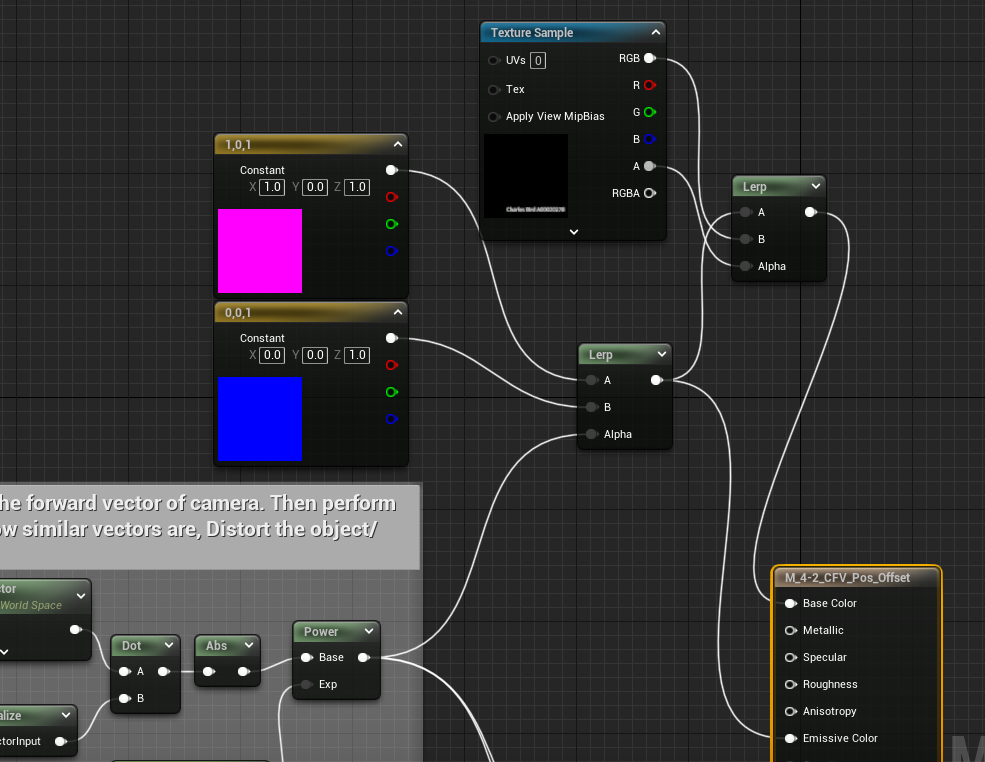
Secondly, was to find the vector from the actor to the camera & the forward vector of the camera. Then performing a dot product on the two to find how similar the vectors were.
These two things were lerped together and plugged into the World Position Offset (WPO).
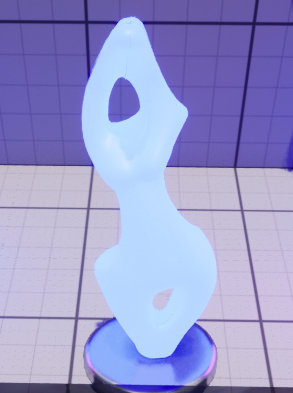
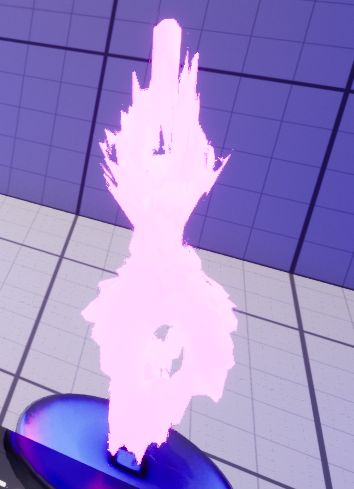
See the effect here:
Next up, materials you can ACTUALY use!

